Guide to Snow (Winter) Photography
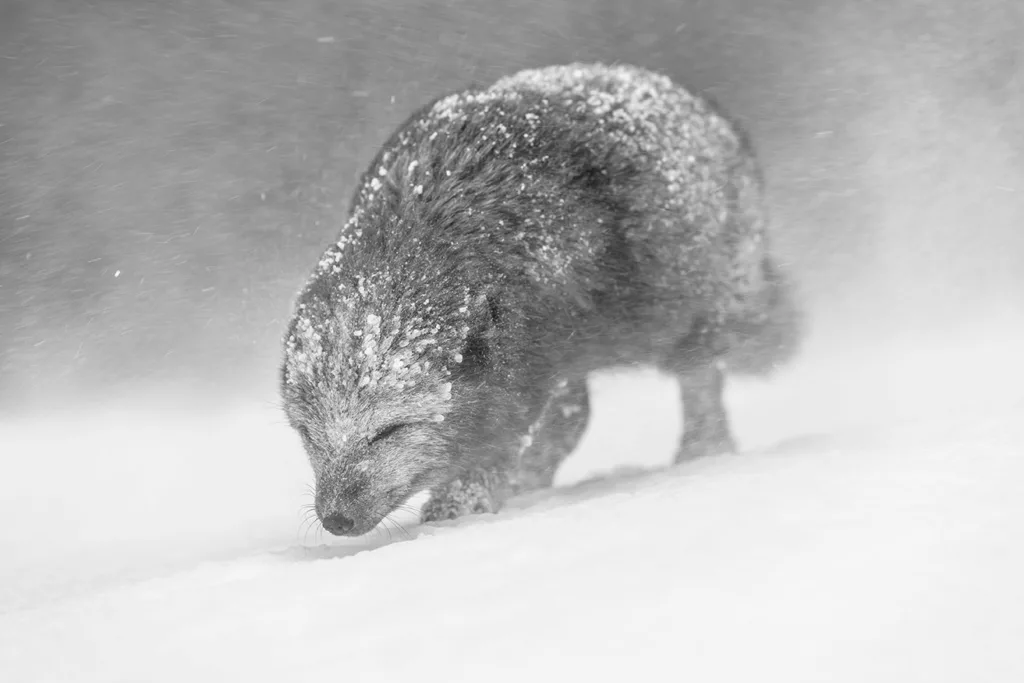
Capturing the beauty of snow-covered landscapes can be a rewarding yet challenging endeavor. The bright, reflective nature of snow can create exposure issues, while the cold weather can affect both the photographer and their equipment.
Color Spaces in Photography

In this article, I’ll break down what color space is, its principles, and how to choose the right one for your photography needs. By the end, you’ll have a clearer understanding of how to work with color spaces to enhance your images.
Sony Lenses Review: 24-70mm or 24-105mm?
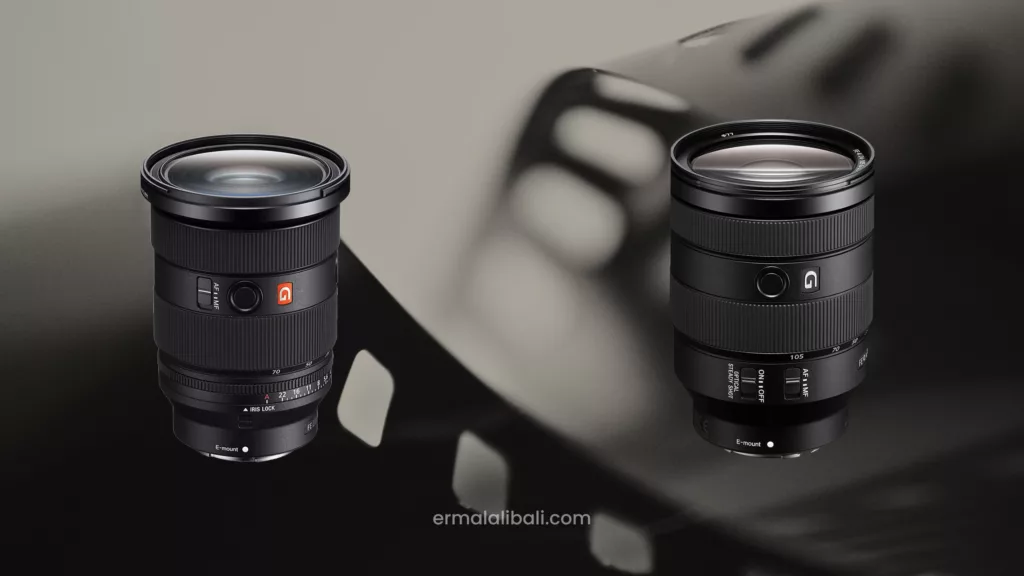
When it comes to versatile zoom lenses for Sony E-mount cameras, the Sony FE 24-70mm f/2.8 GM II and the Sony FE 24-105mm f/4 G OSS are two of the most popular choices among photographers.
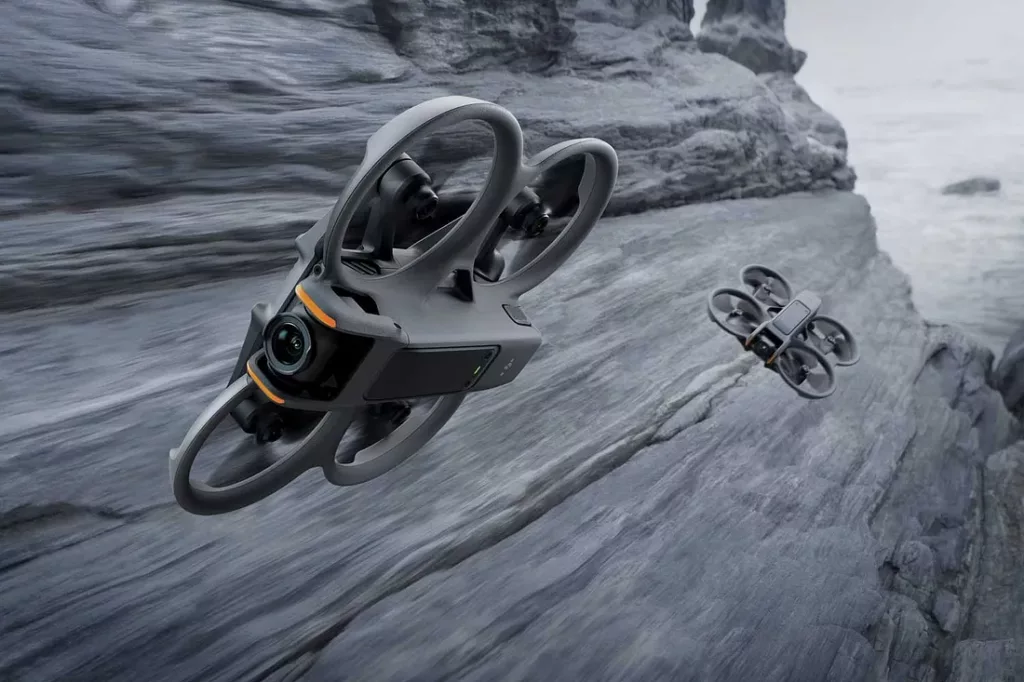
DJI Avata vs Avata 2: A Deep Dive into the FPV Powerhouses
The world of FPV drones continues to evolve, and DJI’s Avata series stands as a testament to that. While the Avata 1 paved the way for user-friendly cinematic flying, the Avata 2 promises to elevate the experience further.
DJI Neo Review: The Budget-Friendly Drone That Packs a Punch
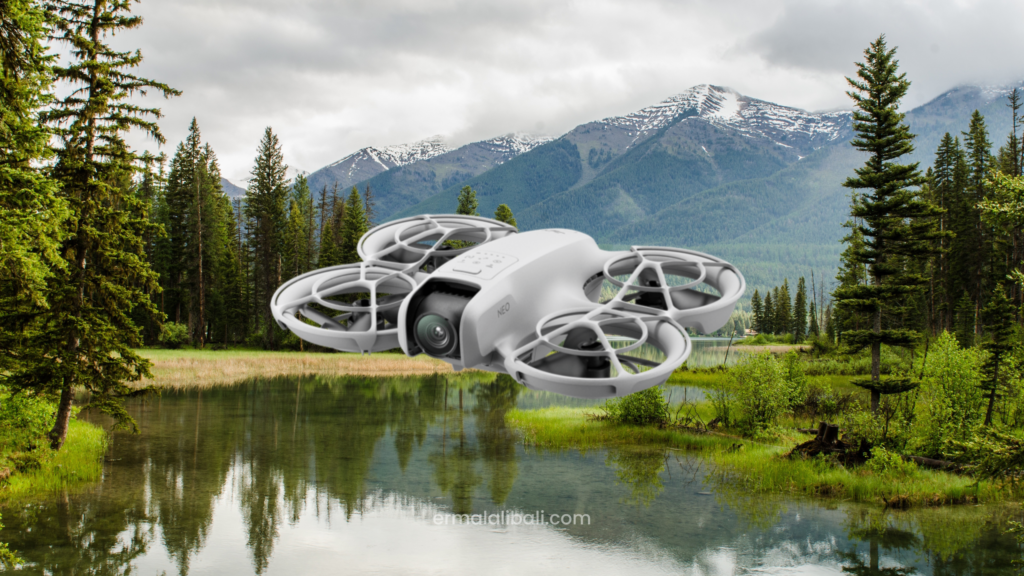
Discover the DJI Neo, an affordable, lightweight drone perfect for beginners and content creators. Capture stunning 4K video, enjoy easy controls, and explore pro features starting at just $199.
Best 10 Free AI to transform photos into videos

Are you ready to bring your photos to life? Whether you’re a social media enthusiast, a content creator, or just someone who loves to experiment with visuals, I’ve got you covered. Here are the top 10 AI tools that can help you transform your images into videos for free.
Best Spots in Rome for Sunset Lovers

Whether you’re a romantic at heart or simply love the beauty of a setting sun, here are some of the best spots in Rome to catch that perfect sunset. Trust me, I’m a Local!
Fly in Iceland: A Complete Guide to Using Your Drone
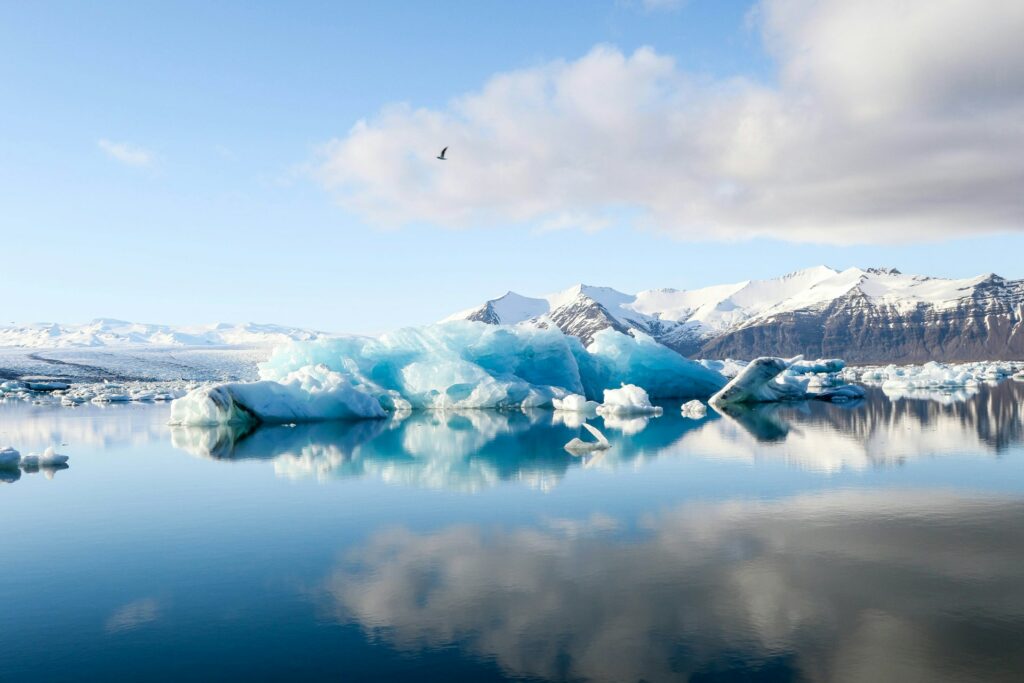
What are the rules to follow in Iceland for flying a drone? What type of drone can you bring? To answer all these questions, I’ve created this complete guide, where you’ll find everything you need to know to fly your drone in Iceland safely, responsibly, and legally.
Italy: 10 Unmissable Places for an Unforgettable Journey
Italy is a marvelous country rich in history, culture, art, and nature. Each region possesses its charm and traditions, offering visitors unique and unforgettable experiences.
CapCut: Unleash Your Inner Video Editing Genius (Even with No Experience!)

Have you ever scrolled through TikTok or Instagram and been amazed by the cool edits in some videos? Wondering how they achieve those fancy transitions and effects? The answer might surprise you — it’s often done with a free and easy-to-use app called CapCut!